
MAKING FIRE WITH STICKS. HOW HARD CAN IT BE?
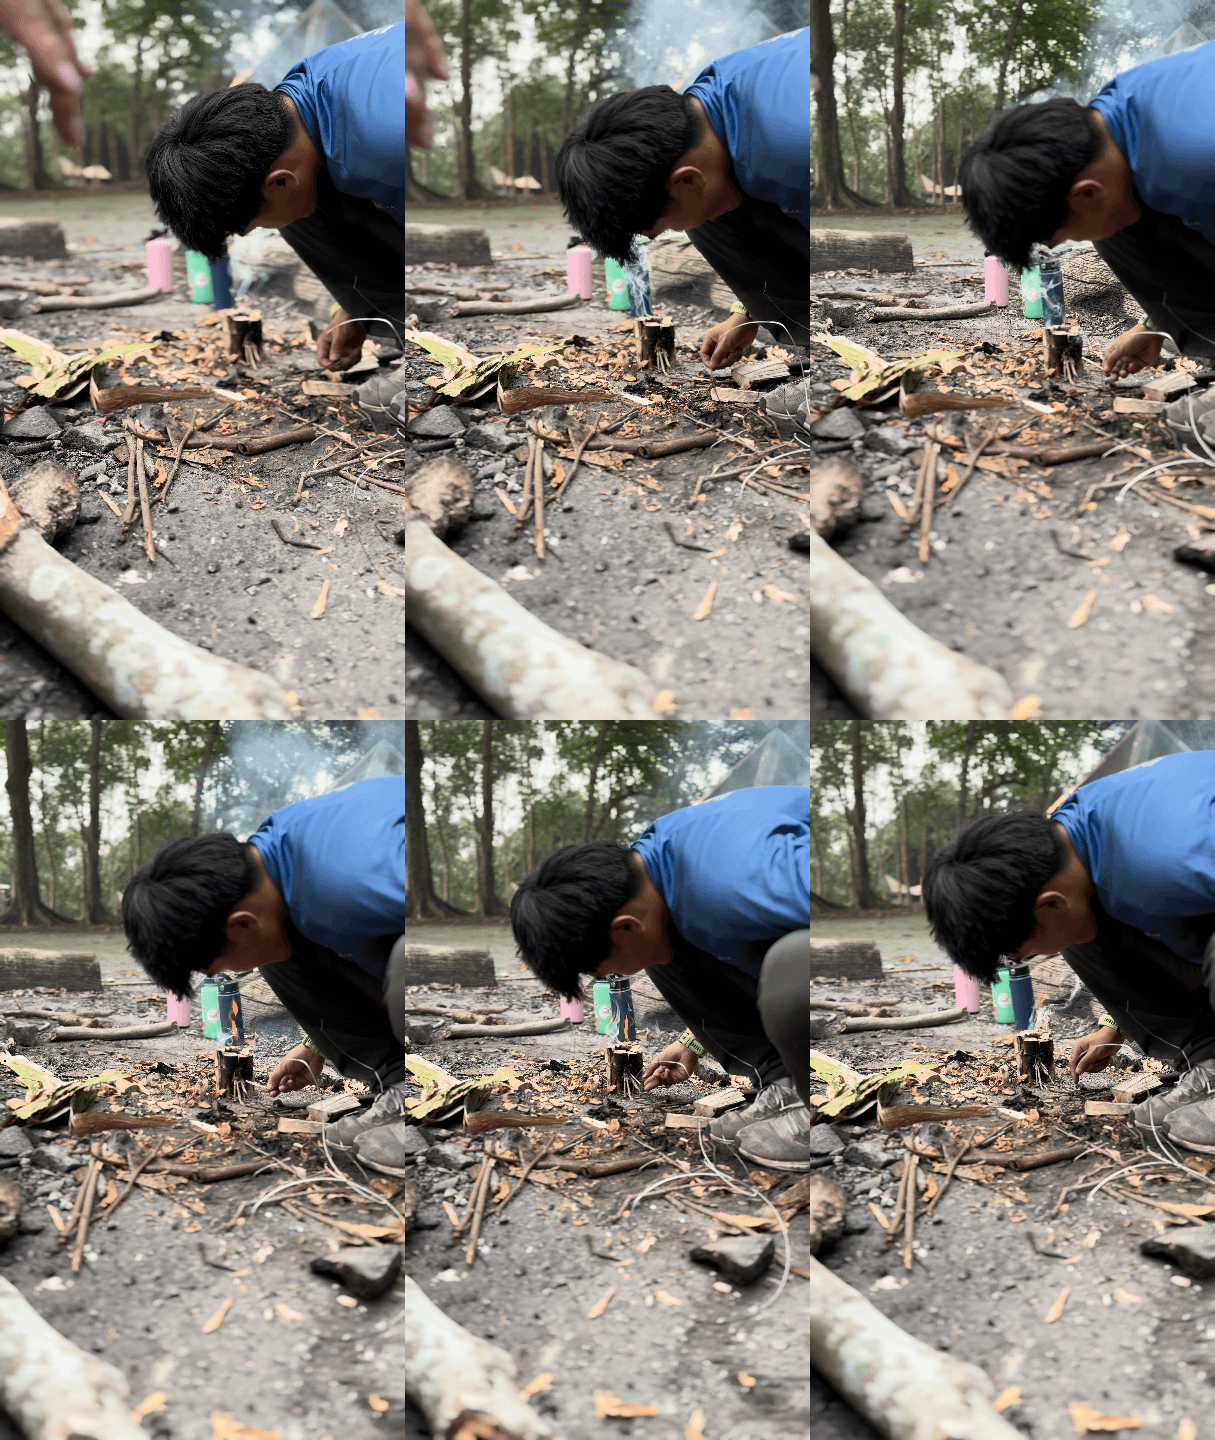
IT ALL HAPPENS DOWN AT GROUND LEVEL
Cheek almost in the ash, breathing slowly, trying very hard not to overdo it.
What a bow drill really asks of you, filmed during our No Lighter Club fieldcraft session on Pulau Ubin, Singapore.
Beyond Expeditions Field Lab | 17 October 2026 | Pulau Ubin
The bow goes back and forth. The spindle turns. There is a small, dark circle forming in the wood.
From a distance, it looks like a fairly uncomplicated arrangement.
Then you have a go.
The cord needs to stay where it belongs. Your hand needs to stay steady. The spindle needs pressure, but not so much that the whole thing seizes. And your bowing motion, which felt perfectly natural for the first three strokes, suddenly has quite a lot to answer for.
This was part of our No Lighter Club session on Pulau Ubin on 17 October, a special afternoon of hands-on fieldcraft that also included woodworking, a handmade Swedish stove and outdoor cooking. The bow drill was one activity within that programme, and arguably the one that most clearly exposed the difference between understanding a technique and doing it.
Some of our group began producing smoke. Others worked on finding a quicker, more consistent drilling rhythm. We saw effort, adjustments and plenty of reasons to keep practising.
If you’ve ever watched somebody create fire through friction and thought, that doesn’t look too difficult, this is your closer look.
FIRST, IT ISN’T JUST TWO STICKS
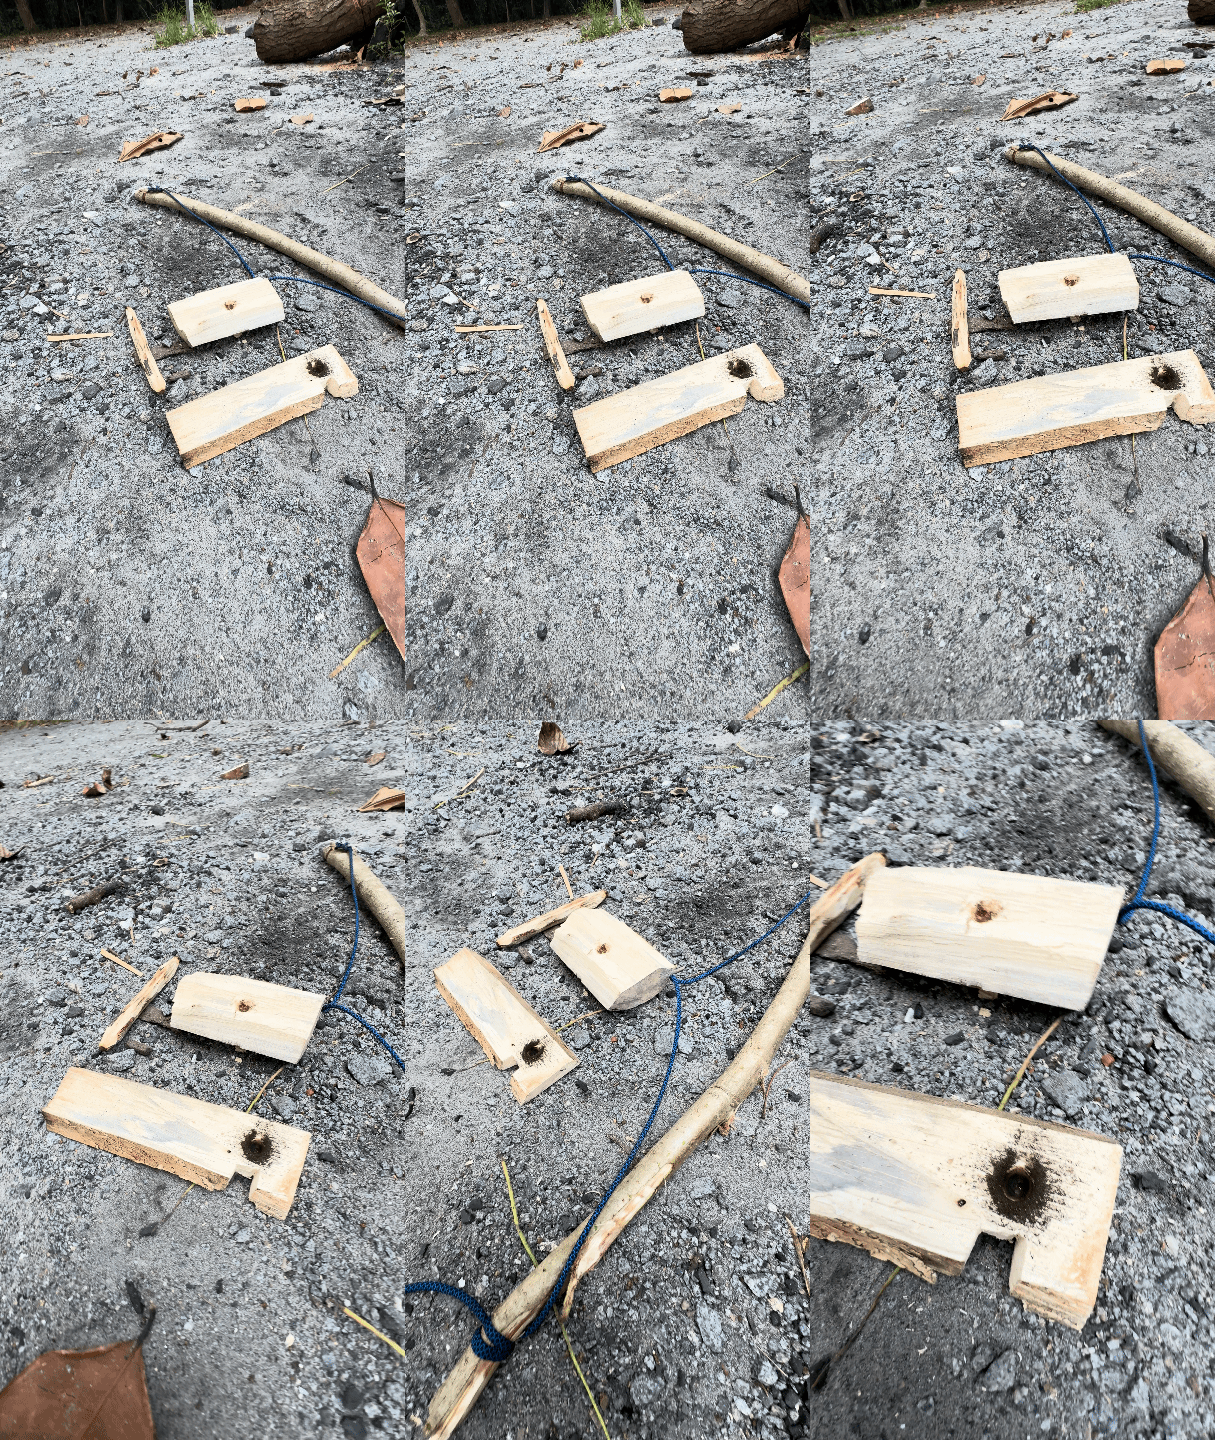
FOUR PIECES OF WOOD AND SOME CORD
The blackened socket in the board is the only clue anything happened here.
A bow drill is a simple-looking system made up of several parts, all with different jobs. Change the performance of one and you change the performance of the whole thing.
The spindle is the wooden shaft that rotates. Its working end rubs against the hearth board, producing friction and heat.
The hearth board, sometimes called a fireboard, provides the fixed surface beneath it. The contact point becomes charred as the wood heats and wears away.
The bow and cord convert a back-and-forth arm movement into rotation. Their job is to keep the spindle moving in a controlled way, not merely as fast as possible.
The bearing block or handhold presses down on the top of the spindle while helping keep it aligned. It needs to allow rotation without wasting too much energy at the upper contact point.
The notch and ember-catching area give the hot, dark wood dust somewhere to collect. In a successful attempt, that dust can consolidate into a small, smouldering ember.
And after that? You still need properly prepared tinder and a suitable fire lay. A glowing ember is an intermediate result, not a finished campfire.
The arrangement is wonderfully low-tech. The coordination is not.
FIELD NOTE 01: SPEED IS ONLY ONE PART OF THE JOB
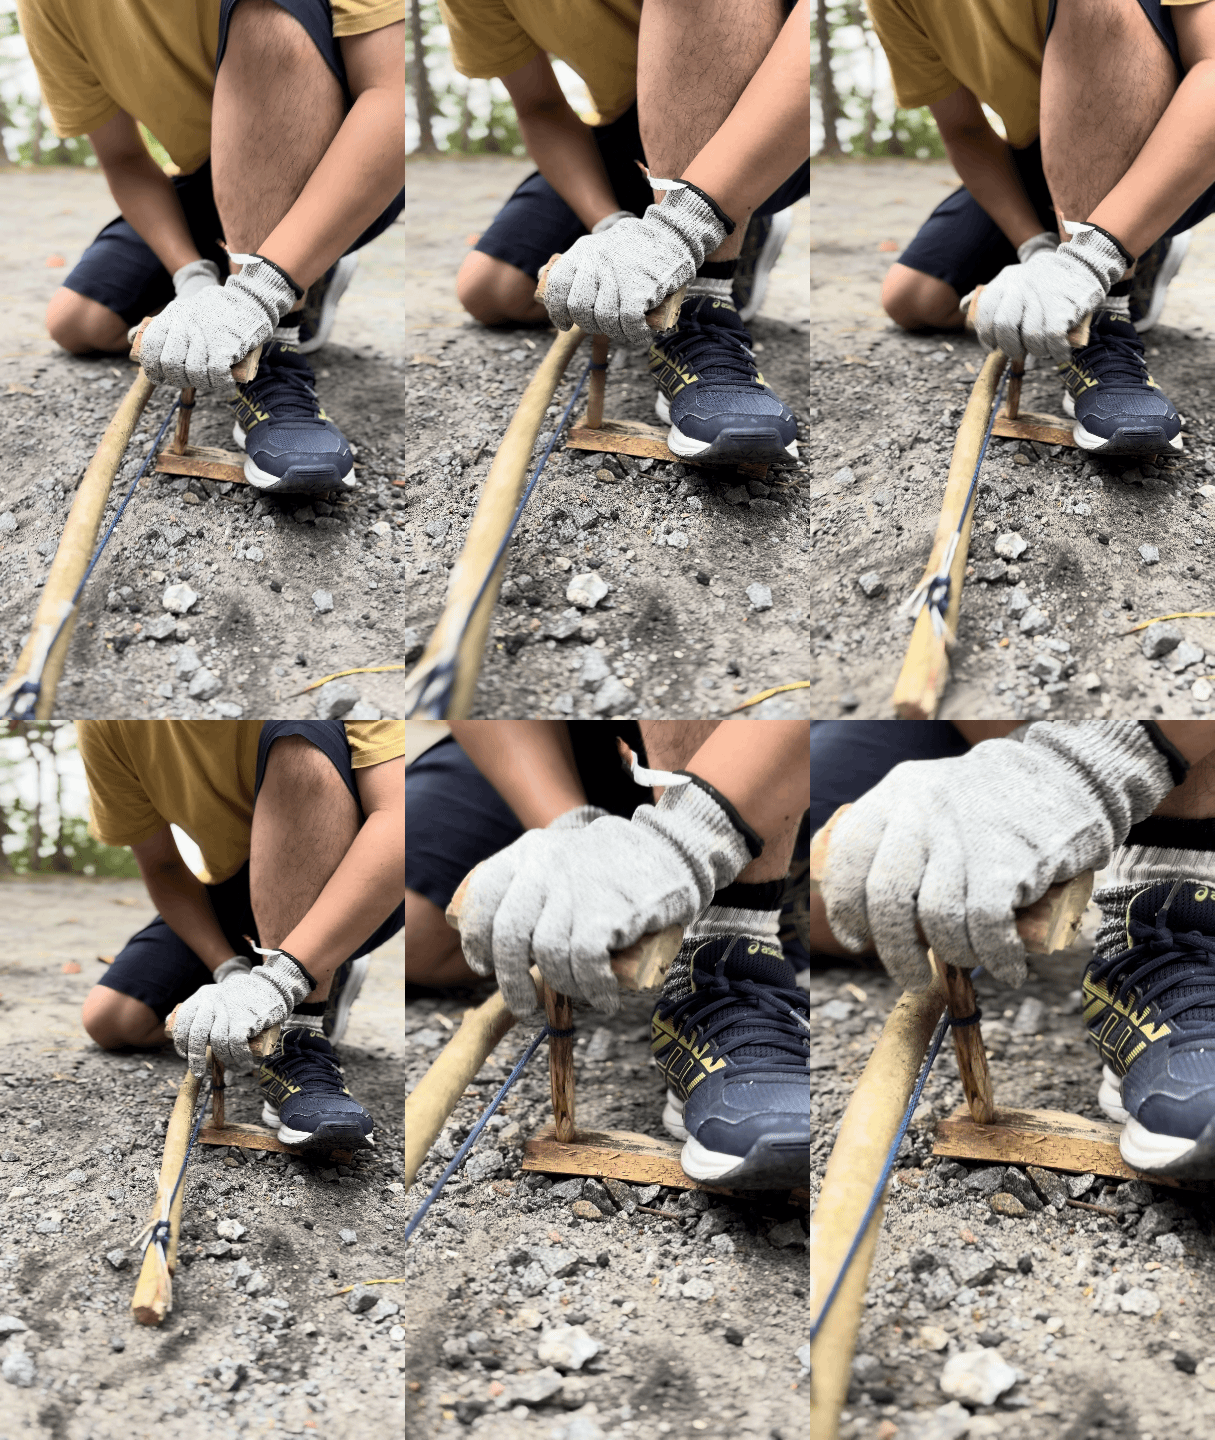
LOCK THE BODY BEFORE THE BOW MOVES
Foot on the board, wrist braced on the shin, then you may begin.
Watch the bow-drill footage closely and you can see why this skill is harder than it appears.
There is the obvious action, the bow moving from side to side. Then there are the quieter things: how the person braces the board, holds the bearing block, keeps the spindle upright and adjusts the length and consistency of each stroke.
It can be tempting to treat the whole exercise as a race. Go faster, make more heat, get fire.
But a fast bow that repeatedly slips or wanders is not particularly helpful. Neither is pressing down so aggressively that rotation becomes difficult. The idea is to find a combination of pressure, controlled movement and sustained friction that the materials will respond to.
During our session, some people noticeably improved their drilling speed and rhythm as they worked. That progress matters. A smoother stroke means less effort spent fighting the equipment, and more attention available for what is happening at the contact point.
You don’t really learn that from watching a thirty-second clip. The clip shows movement. Your hands tell you whether the movement is working.
FIELD NOTE 02: THE BLACK DUST IS DOING A JOB
The little dark mark on the fireboard deserves more attention than it usually gets.
As the spindle rotates against the board, heat builds at the contact point. Wood particles wear away and begin to char. With the board properly prepared, dark wood dust can gather near the notch.
That dust matters because a viable ember can form in the heated material. It is the bridge between friction and ignition.
But a darkened hole is not a glowing ember, and visible smoke does not automatically mean the process has reached that stage. Smoke tells you that material is getting hot enough to produce smoke. The more important question is whether enough suitable hot dust is collecting and retaining heat to develop into a sustained ember.
That is why an instructor looks at more than the speed of the bow. The wood itself is giving feedback, if you know what to look for.
FIELD NOTE 03: MATERIALS HAVE A VOTE
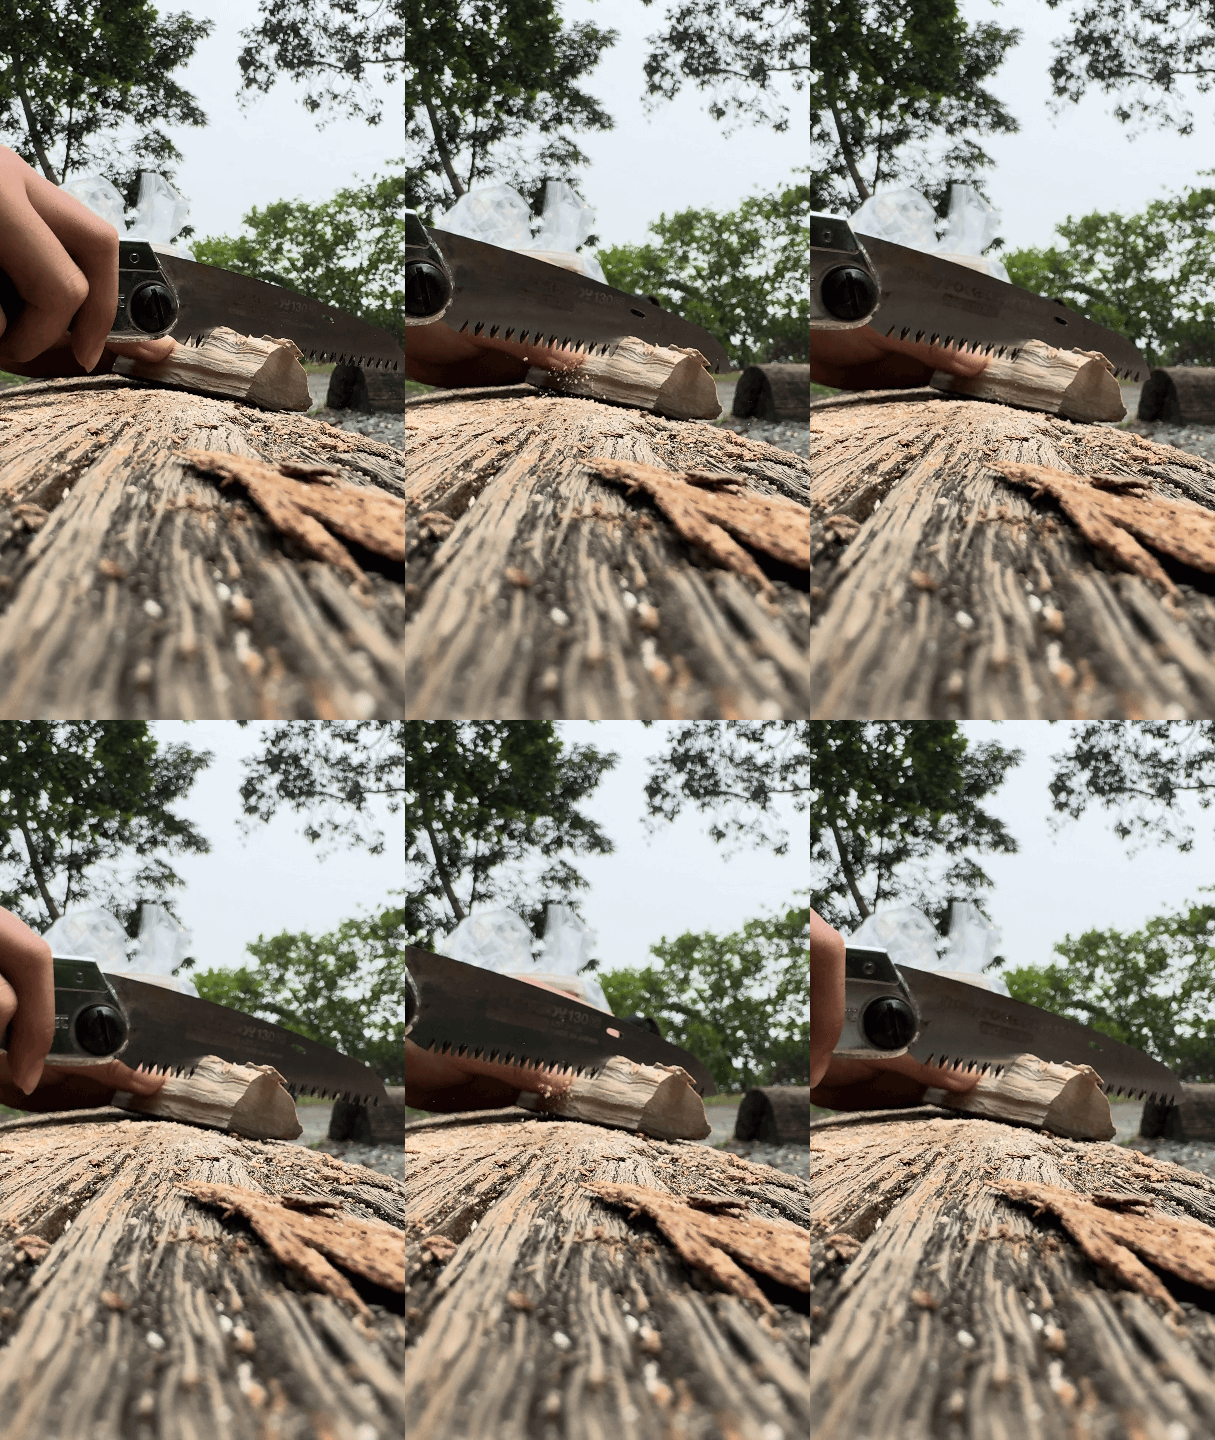
THE SET IS BUILT BEFORE IT SPINS
Cut, size, check. The wrong piece of wood will cost you twenty minutes.
A bow-drill technique does not work independently of the wood.
The dimensions and condition of the spindle, the suitability of the hearth board, how well the surfaces meet and the dryness of the material all affect the result. Poorly matched or damp materials can make an already demanding task considerably harder.
It is a good lesson in bushcraft generally: the preparation is part of the skill.
It is easy to admire the movement of an experienced practitioner without noticing the work that happened before the first stroke. Choosing suitable wood. Preparing the contact point. Getting the cord tension right. Organising tinder before an ember exists.
The visible performance is only the last part of a longer process.
THE SMOKE WAS THE INTERESTING PART
When smoke appears during friction-fire practice, people pay attention.
Understandably. Up to that point there has been an awful lot of movement and very little visible reward. Suddenly, the wood is responding in a way everyone can recognise.
Some of our No Lighter Club group reached that stage. Others spent the session improving their technique, finding their bowing rhythm and learning how much their body position affected the drill.
We didn’t produce a glowing ember during this session. We did see useful progress in the parts of the skill that lead towards one.
That is not a consolation prize. It’s the reality of teaching something that depends on coordination, materials and repeated practice. Nobody needs a cinematic flame on command for the session to be worth having.
The footage is interesting precisely because it doesn’t skip straight to a perfect ending. You get to see the attempts, the movement and the small adjustments that are normally edited out.
SMOKE, EMBER, FLAME: THREE DIFFERENT THINGS
It’s worth keeping these separate, because online fire-making videos often compress them into a few dramatic seconds.
Smoke: Heat is affecting the material. Encouraging, but not proof that a usable ember has formed.
Ember: A small piece or cluster of heated, smouldering material that can continue holding enough heat to ignite suitable tinder.
Flame: Tinder has caught and is burning. Now the challenge becomes keeping the fire alive and feeding it with progressively larger fuel.
The transition between those stages is the skill. That is also why we never treat a bow drill as simply a different kind of lighter.
WHAT YOUR HANDS LEARN THAT A VIDEO CAN’T TEACH
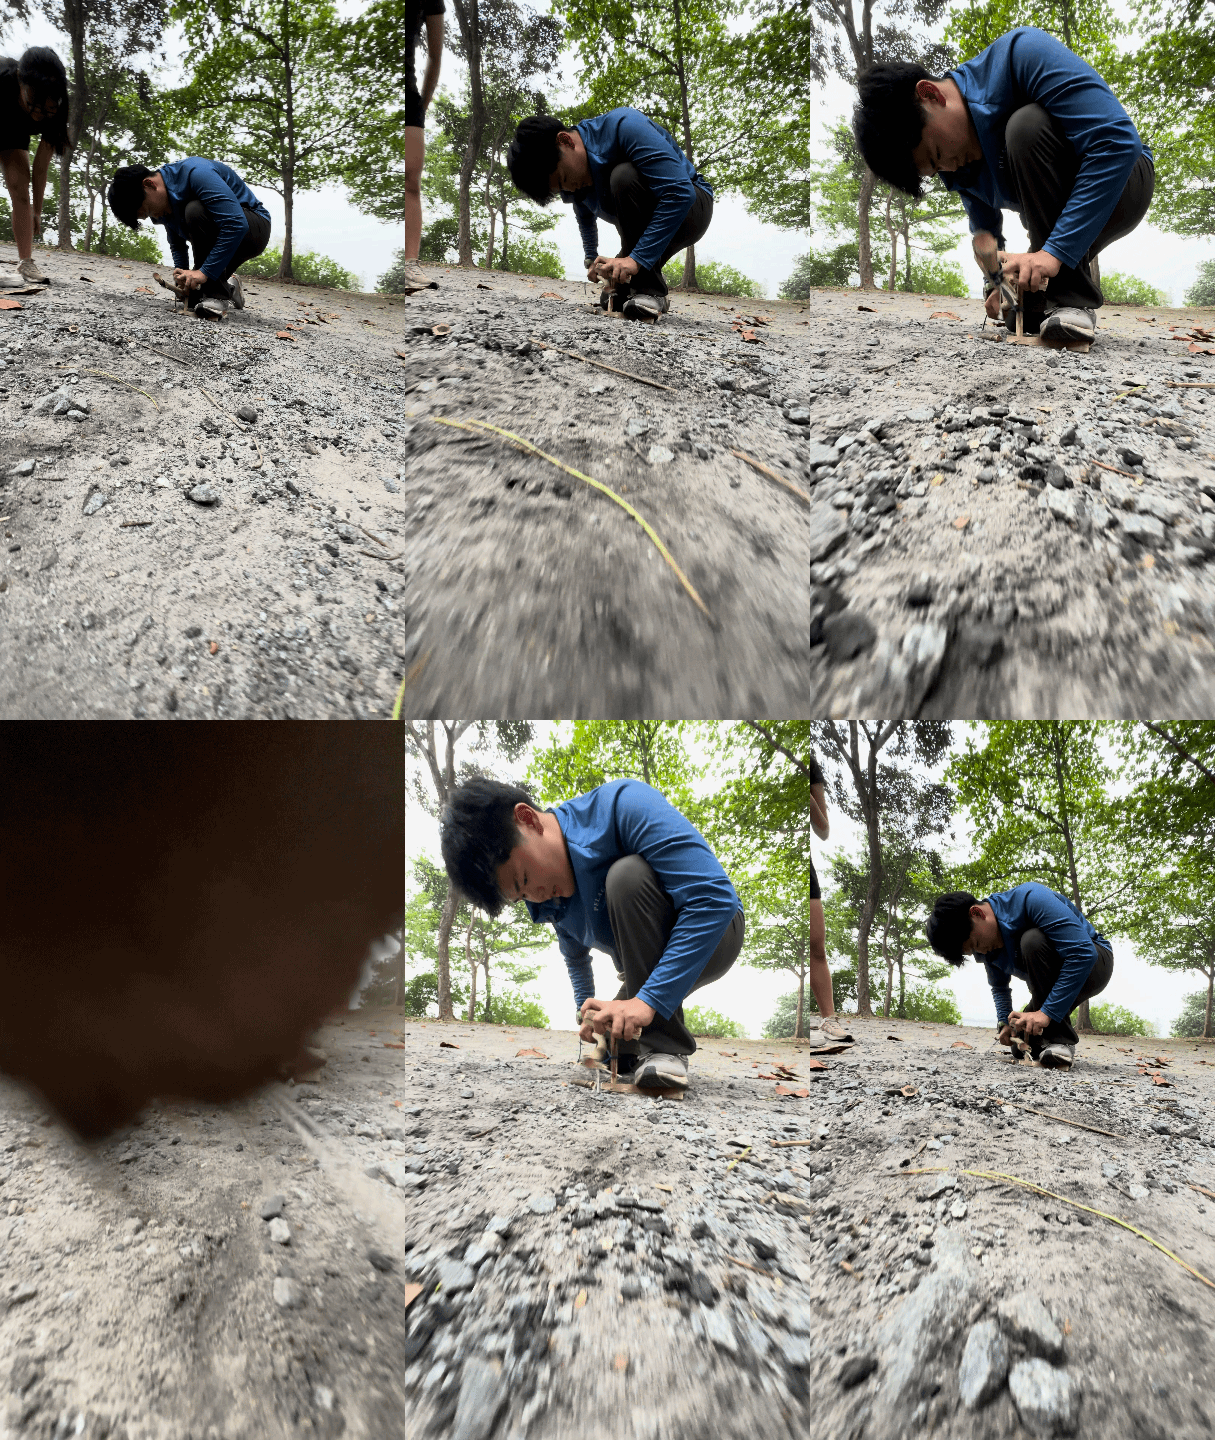
TWO SETS OF EYES, ONE SMALL PROBLEM
Half the learning happens standing up and watching somebody else do it.
There is plenty of good survival knowledge online. We watch and learn from it too.
But a screen doesn’t tell you what your bowstring tension feels like, when the spindle starts to wander, or whether you are pressing down harder than your technique can comfortably sustain.
You find those things out by trying. Then trying again with one small correction.
With a bow drill, that feedback is immediate and rather difficult to negotiate with. The set either rotates smoothly or it doesn’t. The board either begins to heat or it doesn’t. Your own energy has to be managed because the technique is physical, and brute force is a poor substitute for coordination.
That is what makes this such a satisfying subject for an actual field workshop. There is something to understand, something to practise and something to observe. It rewards attention rather than bravado.
And when somebody beside you finally starts producing smoke, you suddenly have another reason to examine what changed.
WHERE BOW-DRILL FIRE FITS INTO OUR SURVIVAL WORKSHOPS
The 17 October No Lighter Club was a specially curated session, not a regular Level 3 class.
Within Beyond Expeditions’ structured survival workshops, bow-drill friction fire sits at Level 3. That is deliberate. Earlier levels introduce firecraft, tools, cordage and the practical business of making things work before we move into a more demanding friction-fire system.
Level 1 gives you the foundations. Level 2 gets you building and applying them. Level 3 brings earlier skills together, including bow-drill fire-making and field stoves.
The attraction is not that we can promise you’ll create an ember within a particular number of minutes. It’s that you can learn to recognise what the technique is asking you to change, and practise it with proper guidance.
If you’d like the broader picture, read our Level 1–3 survival skills guide or explore our survival workshops in Singapore.
READY TO PUT THE THEORY TO WORK?
Reading about friction fire is one thing. Trying it yourself is another.
From your first fire-lighting experience to more demanding fieldcraft, our survival workshops are designed around real practice, real techniques and learning by doing.
Curious about getting started? Tell us what you’d love to try. We’ll help you find the right workshop or explore a private experience for your group.
We use your details only to answer your enquiry about our workshops. We will not add you to any mailing list unless you ask us to.
A FEW QUESTIONS WORTH ASKING
-
A cord-driven bow rotates a wooden spindle against a hearth board. Friction produces heat and charred wood dust. Under suitable conditions, that heated material can form a smouldering ember, which must then be transferred to tinder to develop into a flame.
-
No. Both rely on friction between wood surfaces, but a bow drill uses a cord and bow to rotate the spindle. A hand drill is rotated directly by the hands. They demand different techniques and preparation.
-
It can be introduced with proper instruction, but it’s a demanding skill. Beyond Expeditions’ structured programme places it at Level 3, after the foundational skills taught in Levels 1 and 2. Specially curated workshops can have different formats.
-
There is no reliable fixed time. Material selection, preparation, experience, technique and conditions all make a difference. Producing smoke is not a guarantee that an ember is about to form.
-
Beyond Expeditions introduces bow-drill friction fire in our Level 3 survival workshop on Pulau Ubin, after the foundational skills covered in Levels 1 and 2. We also occasionally curate specialist fieldcraft sessions that combine selected skills. Contact us to discuss the most suitable starting point.
KEEP EXPLORING THE FIELD
If you’ve enjoyed looking closely at one survival skill, these stories show how the bigger picture fits together:
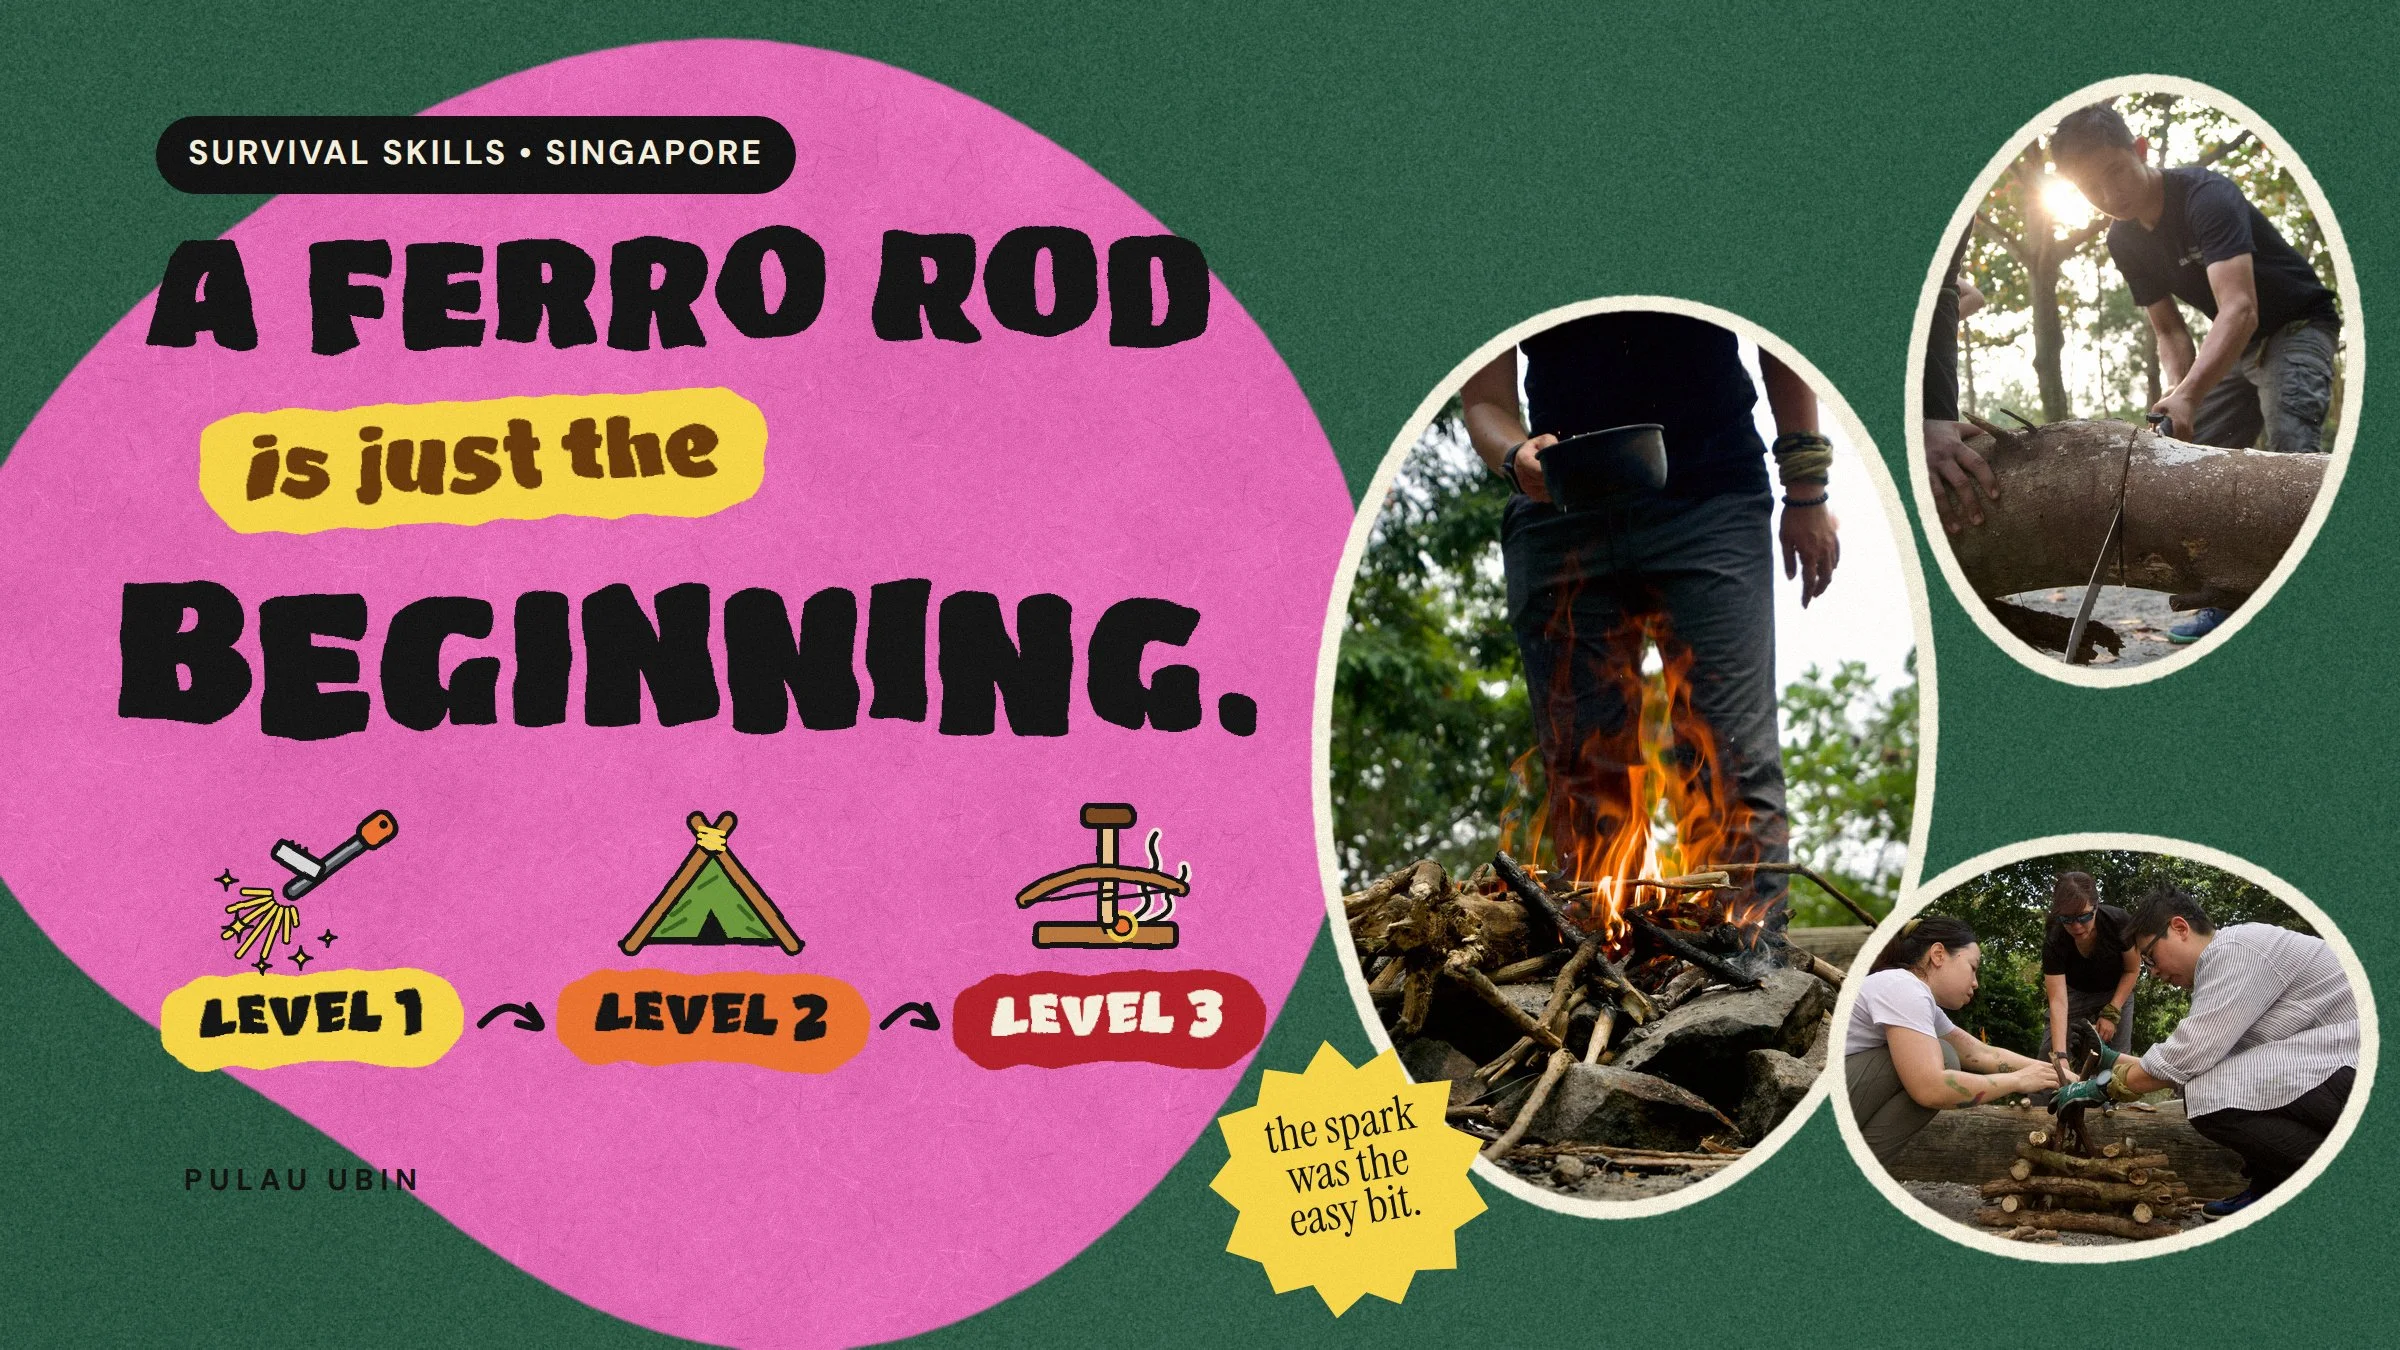
A Ferro Rod Is Just the Beginning. Our guide to how Level 1, Level 2 and Level 3 build on each other.
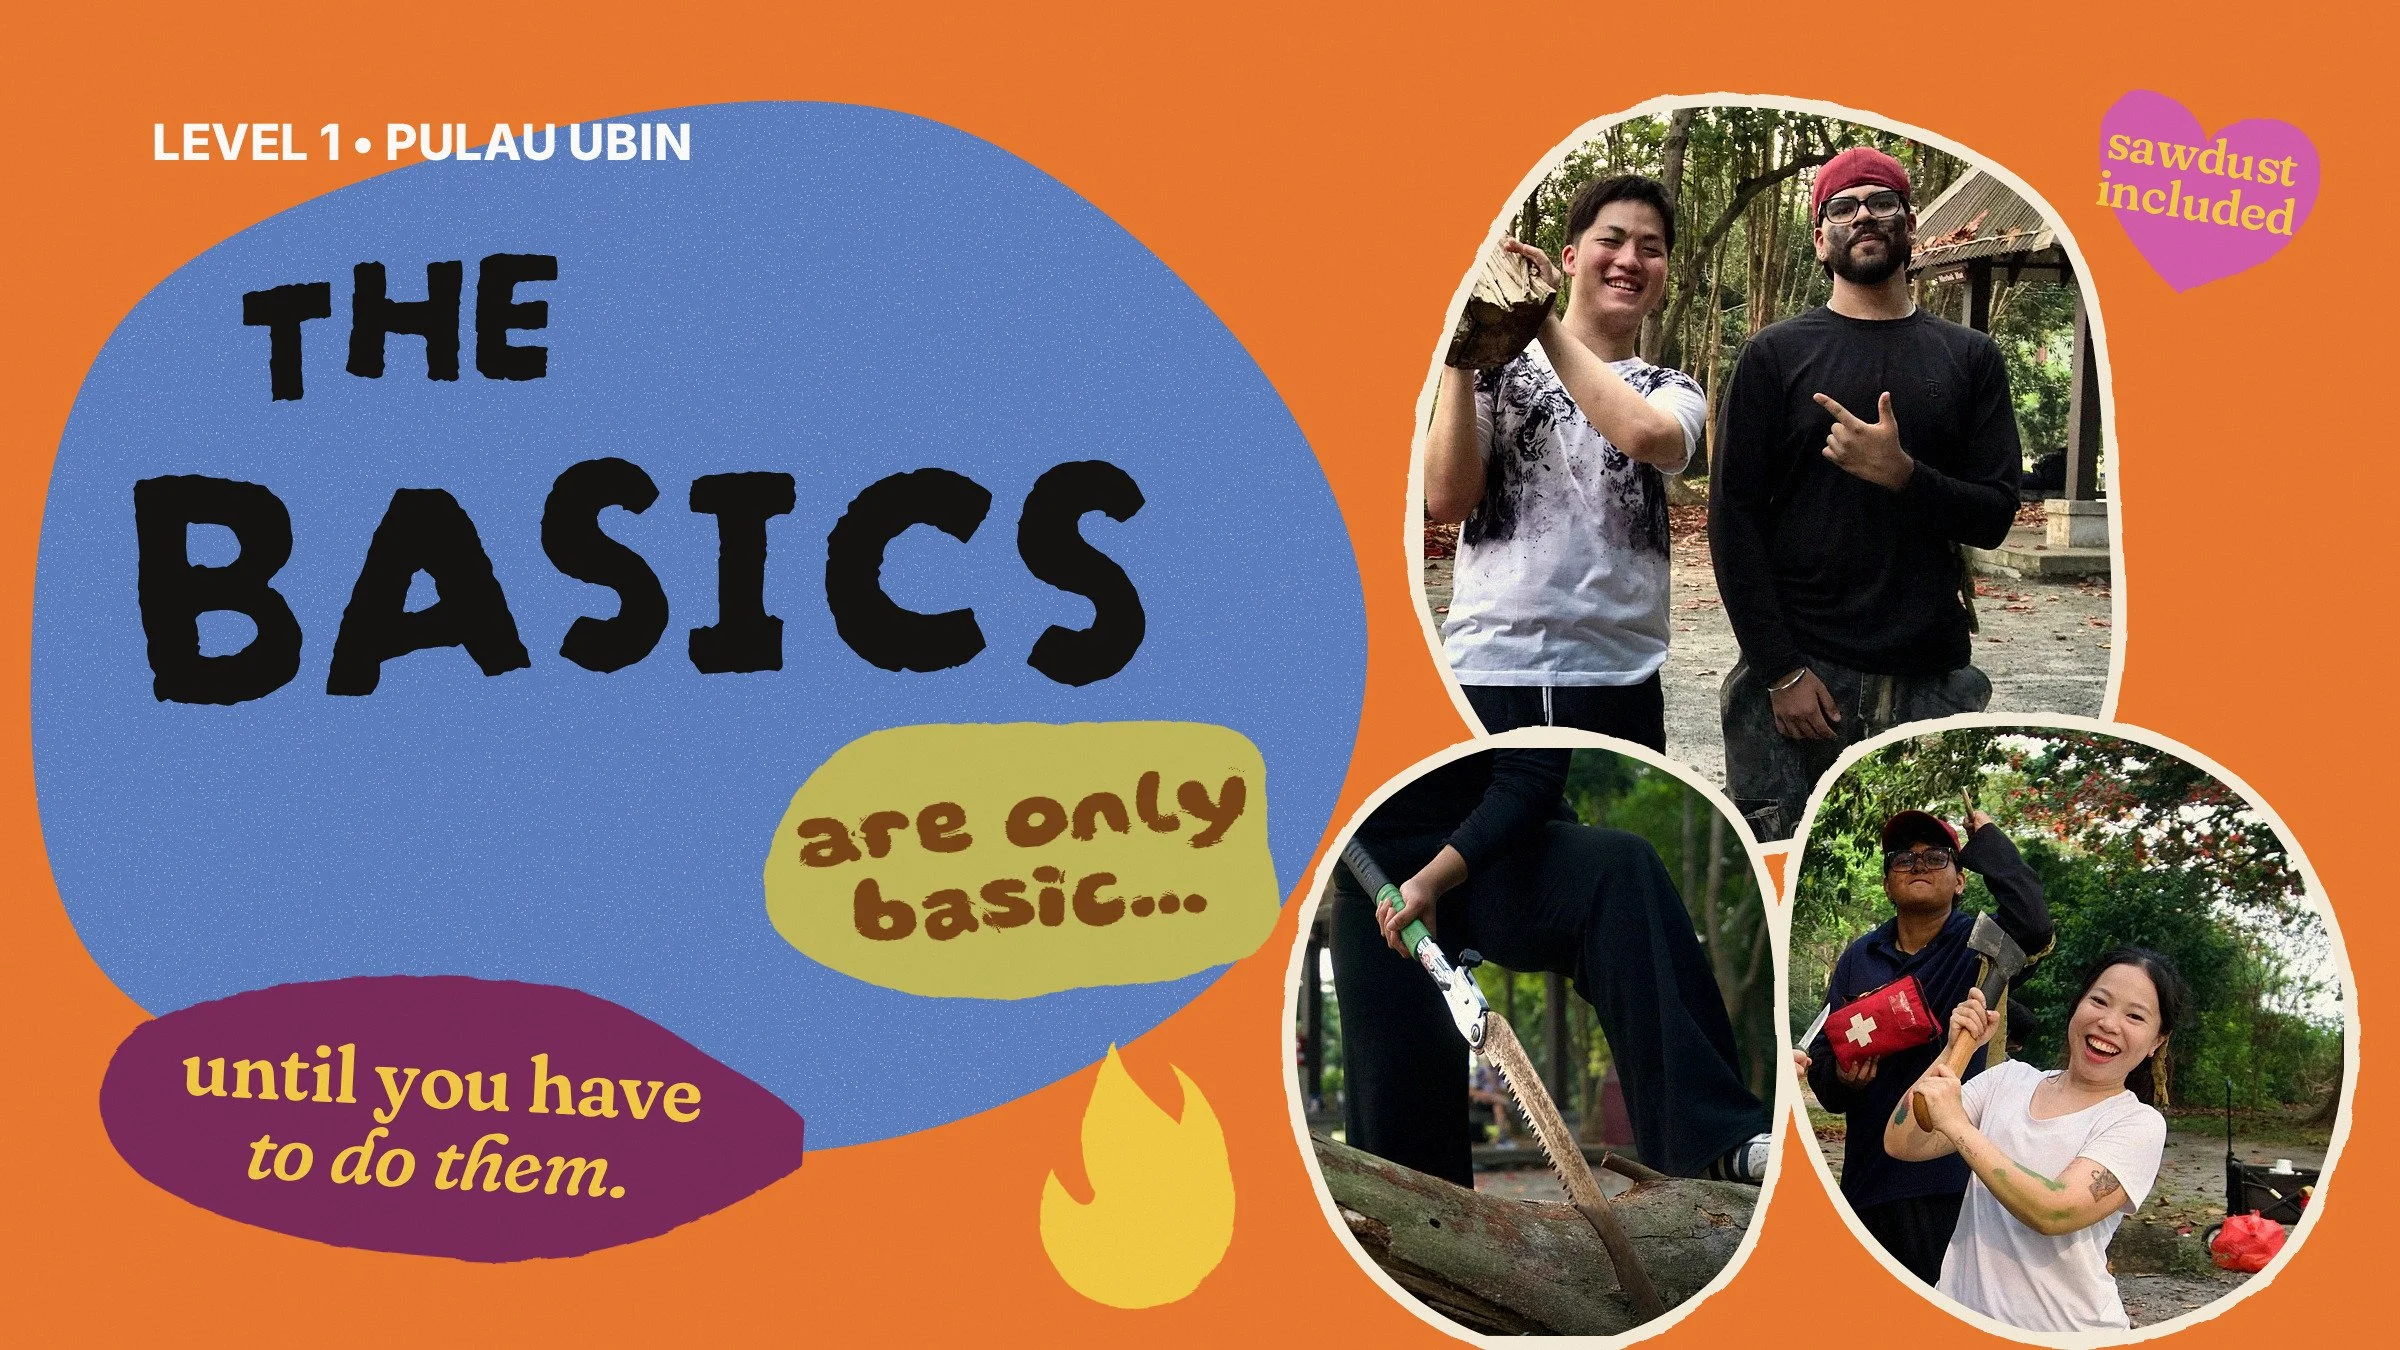
The Basics Are Only Basic Until You Have to Do Them. What really happens during a hands-on Level 1 workshop on Pulau Ubin.
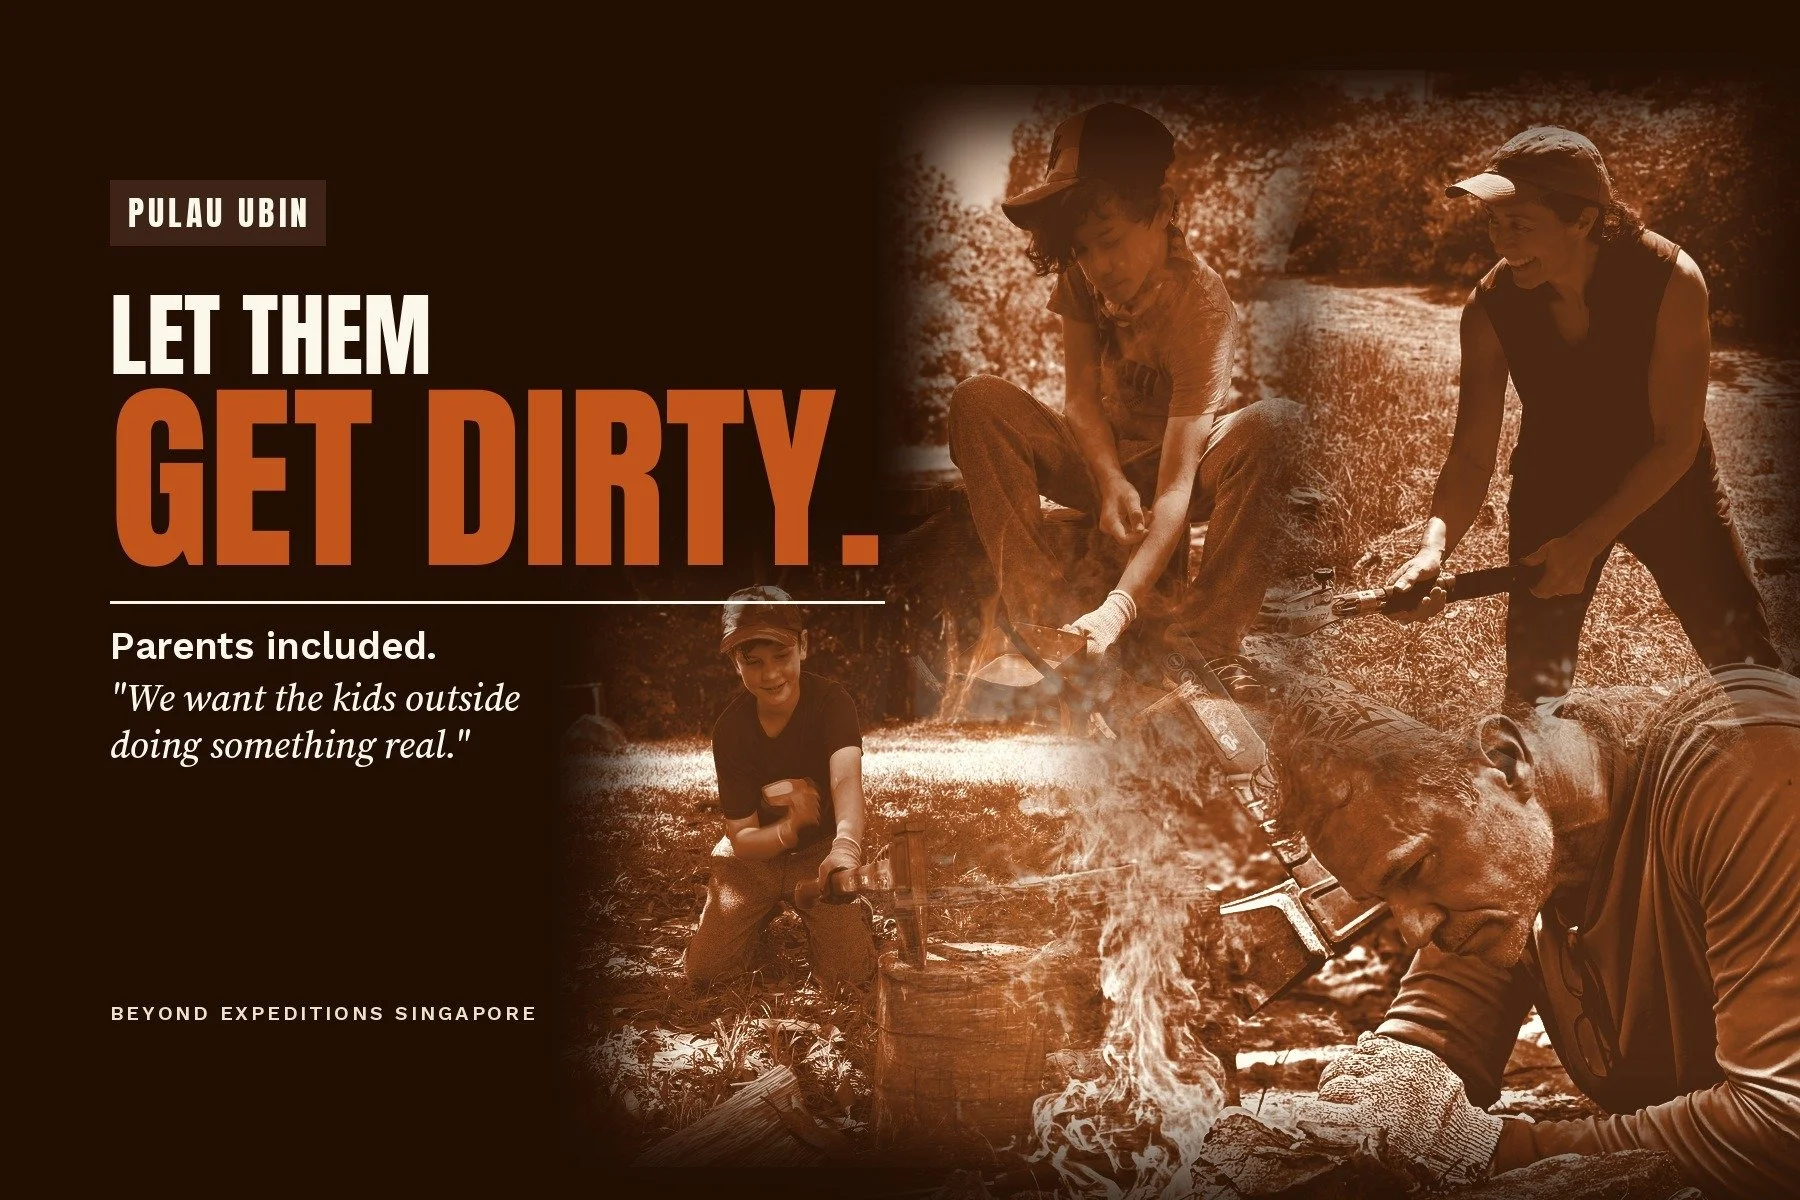
Real Tools, Real Fire, Real Family Time. One family’s private bushcraft day, with everyone joining in.
THE FIRE IS ONLY THE BEGINNING.
Some things make more sense when you finally try them.
The wood, the friction, the rhythm, the patience. You can read about all of it. But there’s something different about feeling the technique begin to work in your own hands.
That’s the part worth getting outside for.